Total Time 2 to 3 hours
In my perfect world, everything would be covered in glitter, even down to the memoboards. The best part of these glittered corkboards is that the glitter is all sealed in, because it is mixed into decoupage medium. The result is a brilliant, magical look that will add sparkle to any area. Imagine how fun this would look in a classroom!
by Kathy Cano-Murillo
What you'll need
- Corkboard squares
- Glittered decoupage medium
- Medium and fine loose gold glitter
- Paper plate
- Sponge brush
Helpful Tip:
If you want your corkboard to be a different color, simply paint the surface with craft paint, let dry and then follow the glitter directions above. For the fullest glitter effect, use a matching base color to the glitter. For example, for teal glitter, paint the surface teal.
How to make it
1. Prep your corkboard by removing any dust from the side that you are going to cover with glitter.
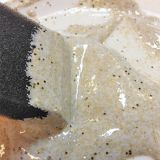
2. Squeeze out a generous amount of decoupage medium on the paper plate, along with the glitters. Two parts decoupage medium, one part loose glitter.
3. Use the sponge brush to mix well. You want it to be smooth and creamy!
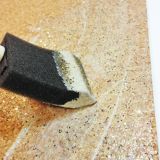
4. Coat the corkboard with a layer of the mixture. Let dry and add a second coat. Repeat two-three more times until it looks full and glittery!
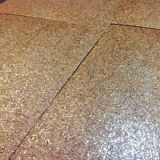
5. Once your corkboard tiles are comepletely dry, check them to make sure the glitter is evenly coated. Now they are ready to hang!
6. Here is a close-up view. The cork is still soft and ready for pinning, the glitter is sealed in tight. all that is left is for you to admire your magical work!


