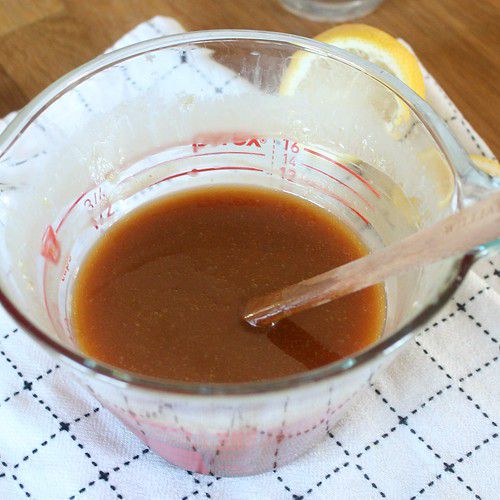
For the longest time I was completely terrified of homemade caramel sauce. It seemed so finicky to me, and getting it to just the right color without crystallization issues proved nearly impossible. Eventually I found a recipe that yielded pretty consistent results, and I’ve stuck with it. Having the ability to make caramel in my own kitchen is simultaneously a really good and really dangerous thing. Once it’s in the fridge, it’s all too easy to grab a spoon and take a taste as you’re walking past, or to decide that eating your apple plain just won’t cut it when there’s a big jar of caramel sauce in the fridge for dipping instead. It’s really good on ice cream too!
As much as I’ve had good luck with my go-to recipe, I was really intrigued when I came upon this recipe from Cook’s Illustrated. It promised perfect caramel using your microwave. Yep, the microwave! No candy thermometers, pastry brushes wiping down the side of the pot, crystallization worries, or any of the other concerns that often arise – it seemed too good to be true, so I simply had to try it. And, as you’ve probably gathered by now, it worked! Perfectly, in fact. If you’ve ever struggled with homemade caramel sauce, this is the recipe you’ll want to try next time. I’ve made the sauce several times without issue, so I think it’s safe to declare it nearly foolproof. I’ve included some photos of the process below that I think illustrate how easy the recipe is – hope they’re helpful!
By Tracey
The Easiest Homemade Caramel Sauce
from Cook’s Illustrated
Ingredients:
- 1 cup sugar
- 2 tablespoons corn syrup
- 2 tablespoons water
- 1/8 teaspoon lemon juice
- 1/2 cup hot heavy cream
- 1 tablespoon unsalted butter
Directions:
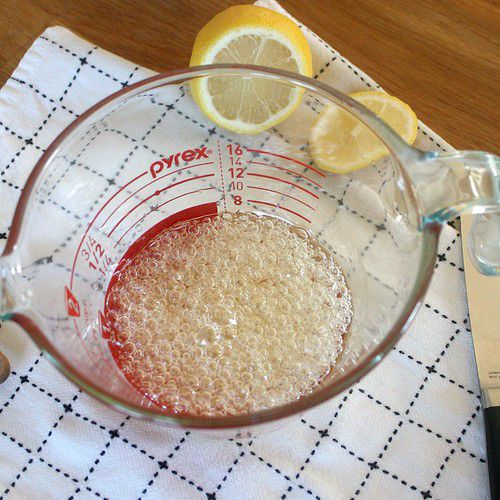
Stir the sugar, corn syrup, water and lemon juice together in a 2-cup microwave-safe measuring cup or medium glass bowl. Microwave until the caramel is just barely starting to take on some color, 5-8 minutes (depending on your microwave – in mine, 5 minutes is perfect). This is the point where you really need to have faith – don’t be tempted to keep heating the caramel in the microwave until it is darker. Here’s mine when it first came out:
Barely any color at all, right? Place the measuring cup on your counter and just let it sit undisturbed. Over the next few minutes here’s what will happen:
The bubbling will subside and it’ll become easier to see the caramel getting darker…
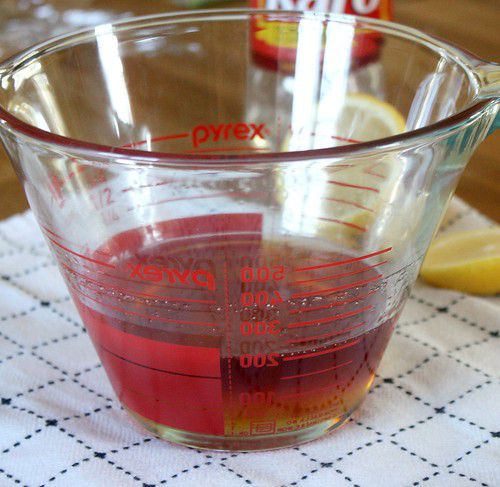
and darker...
until it is a nice amber color.
It will take about 5 minutes for your caramel to darken once you remove it from the microwave – just keep an eye on it. In the meantime, if you haven’t already, heat your cream in a small saucepan until it is hot. If you add cold cream to the caramel sauce it will seize up, and though you can fix it by setting it over low heat and stirring, it’s easier to just start with hot cream.
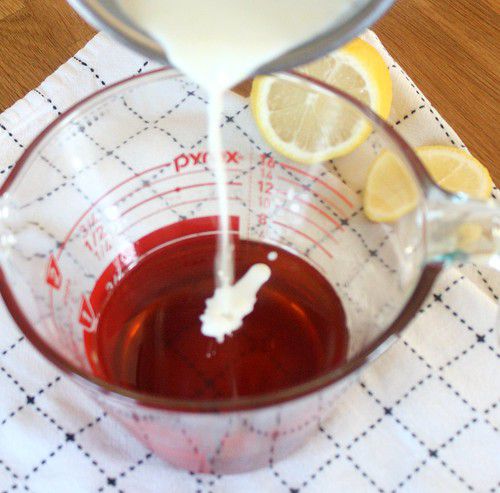
Once the caramel reaches the right color, add the hot cream, a few tablespoons at a time. It will bubble up intensely, but it won’t overflow.
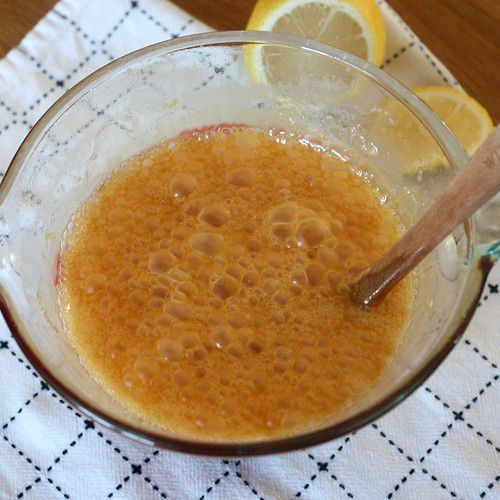
After you’ve added all of the cream, stir to incorporate then add the butter.
Stir until it is melted and combined. And that’s it! Couldn’t be easier, right? Just try to resist the temptation to taste it immediately – you will burn your fingers and/or tongue.
Once the caramel cools, you can store it in your fridge (it should be good for at least a few weeks). Gently reheat it when you want to use it. Later this week I’ll tell you what I did with my caramel sauce (aside from the obvious apple dipping), but here are a few ideas to hold you over until then:


