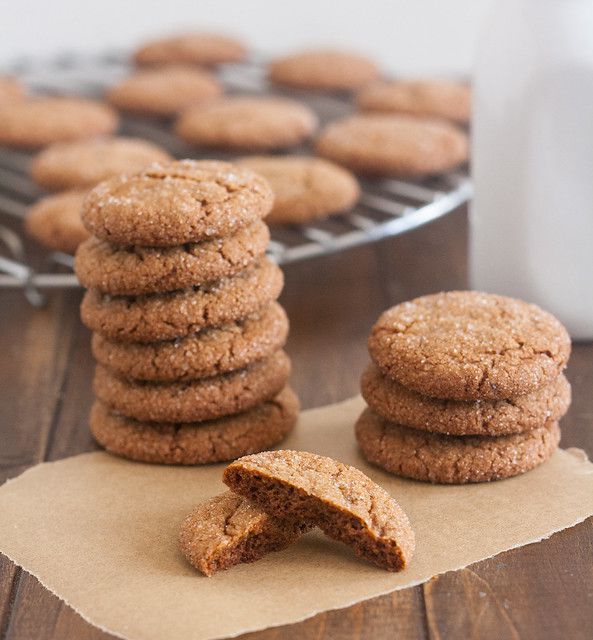
If you wanted to get ahead for Christmas, this is a great recipe. The dough can be made and frozen for up to a month, and then once you bake the cookies they stay fresh for two weeks! That means they’d also be perfect for shipping if you want to send goodies to friends and family. One quick note about the cooking process – it’ll seem finicky when you read it, but just go with it. Cook’s Illustrated always has a method behind their madness, and this method turns out perfect cookies in every single batch!
By Tracey
Perfect Gingersnaps
adapted from Cook’s Illustrated
(Note: be sure to use a heaping teaspoon of dough for each cookie – otherwise the baking times indicated in the recipe will be too long. Keep an eye on the first batch to make sure they don’t get too dark on the bottoms.)
Ingredients:
- 2 1/2 cups (12 1/2 oz) all-purpose flour
- 2 teaspoons baking soda
- 1/2 teaspoon salt
- 12 tablespoons unsalted butter
- 2 tablespoons ground ginger
- 1 teaspoon ground cinnamon
- 1/4 teaspoon ground cloves
- 1/4 teaspoon black pepper
- pinch cayenne pepper
- 1 1/4 cups packed (8 3/4 oz) dark brown sugar
- 1/4 cup molasses
- 2 tablespoons grated fresh ginger
- 1 large egg plus 1 large egg yolk
- 1/2 cup (3 1/2 oz) granulated sugar
Directions:
In a medium bowl, whisk together the flour, baking soda, and salt. Add the butter to a large skillet and set over medium heat. The butter will melt then begin to bubble and foam. Eventually it will start to turn brown and smell nutty – be patient and watch carefully, it can go from brown to burned quickly. When the butter begins to brown, remove the pan from the heat and pour the butter into a large heatproof bowl. Add the ground ginger, cinnamon, cloves, black pepper, and cayenne and whisk to combine. Set aside to cool for about 2 minutes, then whisk in the brown sugar, molasses, and fresh ginger until combined. Mix in the egg and egg yolk until incorporated. Finally, stir in the dry ingredients with a rubber spatula, mixing just until combined.
Cover the bowl with plastic wrap and chill in the refrigerator for 1 hour, or until firm (you can refrigerate the dough for up to 2 days or freeze for 1 month). {Note: if you chill the dough longer than 1 hour you need to let it sit at room temperature for 30 minutes before shaping. If the dough is frozen, thaw overnight in the fridge, then let sit at room temperature for 30 minutes before proceeding.}
When you’re ready to bake, preheat oven to 300 F with one rack in the upper third and one in the lower third of the oven. Line two baking sheets with parchment paper. Add the granulated sugar to a pie plate and set aside.
Using a heaping teaspoon of dough for each, shape the dough into 1-inch balls. Roll the balls in the sugar and place on the prepared baking sheets. You can fit 20 cookies per sheet – I did 5 rows of 4.
Place one baking sheet on the upper rack in the oven and bake for 15 minutes. Then, move that baking sheet to the lower rack, rotating it from front to back, and place the second sheet of cookies on the upper rack. Bake for an additional 10-12 minutes, or until the cookies on the lower rack just start to darken around the edges. Remove that tray of cookies to a wire rack, and move the baking sheet on the upper rack down to the lower rack. Continue baking for 15-17 minutes, or until the cookies start to darken around the edges. Remove to a wire rack. Slide the parchment off the baking sheets and let the cookies cool on the parchment on wire racks.
Allow the baking sheets to cool completely then repeat the baking process with the remaining dough. Store the cooled cookies in an airtight container for up to 2 weeks.
Makes about 80 cookies.


