Total Time 1 hour Ages all-ages
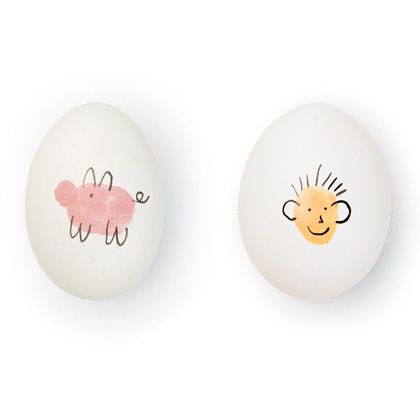
All thumbs? No problem. Fingertips coated with paint create perfect tiny templates for mini animals, Easter eggs, faces, and more.
What you'll need
- Eggs
- Acrylic paints
- Paper plates
- Fine-point permanent marker
Helpful Tip:
To get the fun under way, first boil your eggs for 15 minutes and then let them cool completely. Protect your work area with newspaper and set out the supplies needed for each technique.
How to make it
1. To put your prints to work, pour a bit of acrylic paint onto a paper plate. Dip your thumb or finger into the paint, dab off any excess, then press it against the egg.
2. Let the paint dry completely before adding details with a fine-point permanent marker.
3. For more egg dyeing techniques:
Egg Dyeing: Aluminum Foil Technique


