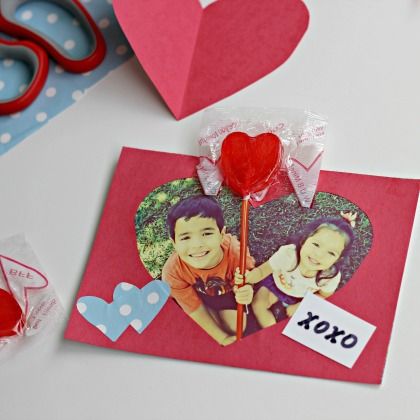
Nothing speaks to love and friendship like a personalized Valentine's Day card. Although it might take a little bit of extra work, I like to let my kids show their appreciation for their friends, teachers and loved ones with their creations.
I could have had them write on a piece of construction paper and call it a day, but having my printer has made it much easier to create personalized gifts on short notice.
This is what I did:
Right before the sun set, I photographed my kids while we played outside. The next morning, while waiting in the car line at school, I was able to send the picture to my printer at home. I picked up a few lollipops on the drive back, and we were all set.
The pictures were waiting for us when we got home. All we needed were a few supplies to finish decorating the cards during our after-school snack. And just like that, our personalized Valentine’s Day cards were ready!
by Denisse Icaza
What you'll need
- Photo paper
- Printer
- Construction paper
- Lollipops
- Scissors
- Tape
- Precision knife (for an adult)
- Markers, stickers and scrap paper for decorating
Helpful Tip:
If you’d like to make it look like your child is holding the lollipop, take a picture of him with a broomstick -- but don't show the ends. Also, feel free to use whatever you have on hand to decorate the cards! Stickers, markers, glitter or scrap paper make great additions (we used leftover gift wrap to cut out hearts).
How to make it
1. Print the photo you chose for your card (if you are able to use mobile printing, you will save time!).
2. Cut the photo and construction paper to the same size.
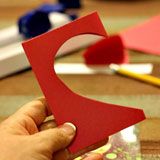
3. Fold the piece of construction paper in half. Trace a half heart and cut out. This piece can be glued on top of the picture to frame it.
4. Decorate the framed picture as you wish. Then, use a precision knife to cut a slit where the top of the lollipop is supposed to go.
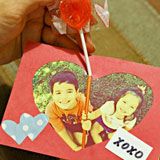
5. Insert a lollipop and secure it in the back with a piece of adhesive tape. And voilà! Your valentines are done in five simple steps!


