Total Time afternoon or evening Ages school-age
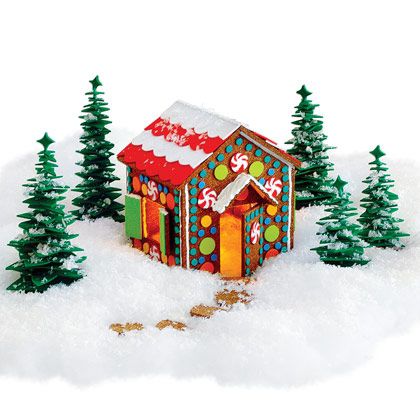
This festive corkboard cottage has a great selling point: while it's every bit as sweet as the classic cookie-and-candy model, it'll never get stale.
What you'll need
- 2 (12-inch square) cork panels (available at office supply stores)
- Ruler and pen
- Craft knife
- Hot glue
- Pencils
- Hole punch
- Craft foam in various colors
- White puffy fabric paint and and paintbrush
- Craft glue
- FOAM TREES:
- Wooden skewers
- Green marker
- Green craft foam
How to make it
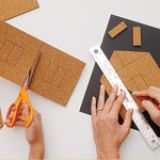
1. Draw the house shapes on the cork panels as shown.
2. Cut them out, using a ruler and a craft knife for the windows and door (a parent's job). Cut the window squares in half for shutters.
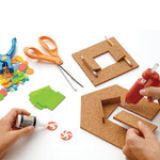
3. Hot-glue the shutters and door in place, using pencils to prop them at an angle while the glue sets. Cut or punch out foam circles to resemble NICO wafers and candy dots. You can even paint some like starlight mints.
4. Hot-glue the walls together. Add the roof pieces, then let the glue set. Cut out foam roof tile strips and glue them in place starting at the lower edge and slightly overlapping the layers.
5. Use craft glue to attach the candy circles. Paint the seams of the house, the roof peak, the shutters, and the eaves with white puffy fabric paint to look like they're covered with icing.
6. To make foam trees, color a wooden skewer with a green marker. Next, cut out squares of green craft foam (ours ranged from 1/2 inch to 2 3/4 inches) and trim them as shown. Push the skewer point through a cork circle, then through the center of each foam piece. To finish, glue together 2 small stars, sandwiching the skewer point.
7. Set out your finished house with our foam trees. To complete the scene, we added cork stepping-stones, fake snow, and a battery-operated tea light (available at craft stores).


